If you’re looking for an easy way to add character to your home, trim moulding is a popular choice. With many types, styles, and designs to choose from, it can provide beautiful architectural detail to any room. And if you’re interested in DIY projects, it’s a pretty simple job to tackle on your own.
Let’s dive into some step-by-step instructions on how to install moulding on walls, DIY-style.
1. Gather Your Materials
Before you start your project, make sure you have all the tools and materials you’ll need to complete it successfully and safely. Here’s a few things you won’t want to forget:
- Drill
- Hammer
- Miter saw
- Tape measure
- Dropcloth
- Caulk gun
- Paintbrush
- Level
- Protective eyewear
- Moulding
- Wood putty
- Paint
- Nails
- Caulk
2. Choose a Type of Moulding
There are a few types of moulding to choose from, and the installation process is similar for each of them. Therefore, you’re able to pick which style you like best without worrying about how difficult the look may be to achieve. Your moulding choices include:
- Architectural – A polymer material that mimics wood, but is much lighter, easier to handle, and resistant to warping, rotting, and splitting.
- MDF – Short for medium density fiberboard, this is a lightweight engineered wood that comes pre-primed and can withstand humid and hot climates.
- Pre-finished – Made from polystyrene, this moulding comes in several grain patterns and is an affordable alternative to real wood.
- Unfinished – This is solid moulding made from natural hardwoods, milled to match your unique decorative style.
3. Measure Your Wall
In order to determine how much moulding you’ll need, measure the room from corner to corner. Usually, architectural, MDF, and pre-finished moulding comes in 8 foot lengths, while unfinished moulding comes in 8, 10, and 12 foot lengths. Divide the appropriate measurement by your total required footage to see how many pieces you’ll need. Make sure to give yourself a little more length than you’ll need to accommodate for any errors or waste.
Keep in mind that some manufacturers offer custom millwork, so you’ll be able to get the exact sizes you need instead of pre-cut measurements. This may be a good option if fine details and superior craftsmanship are important to you.
4. Paint Your Moulding
It’s faster and easier to paint or stain your moulding before you install it. Put down your drop cloth and apply coats based on your manufacturer’s instructions. Then, set the mouldings aside to dry in a dust-free space. Keep a little bit of leftover paint or finish to touch up any edges or nail holes after you install.
5. Install Your Moulding
Once you’ve finished the preliminary steps, you’re ready to install. Follow these steps carefully for a successful installation:
- Locate your wall studs, and mark them for future reference.
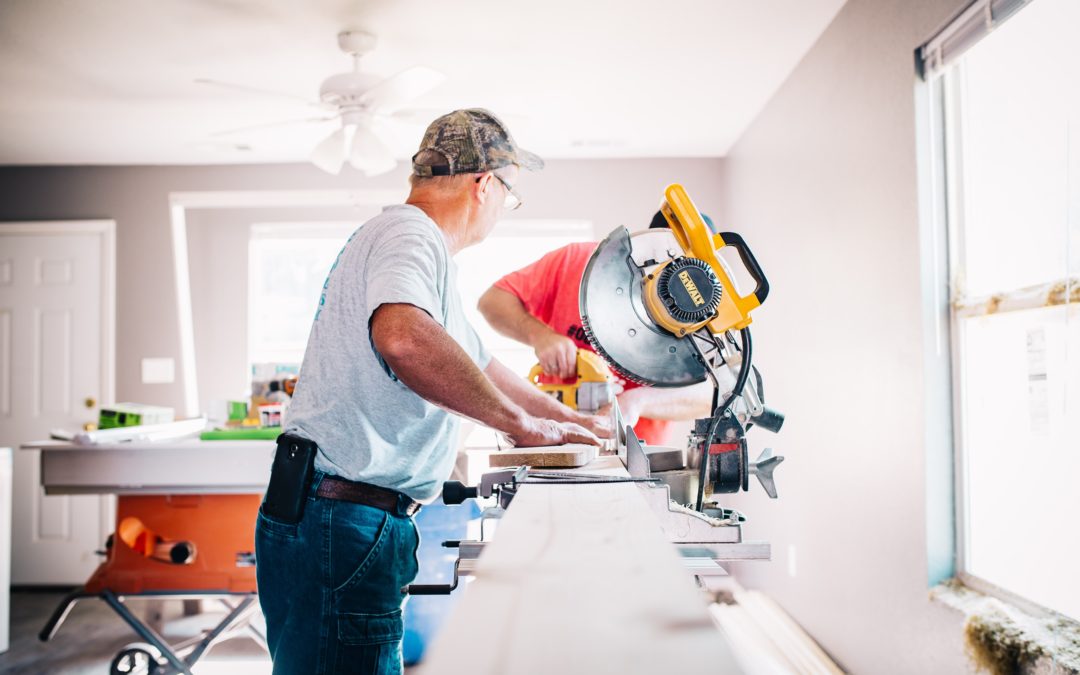
- Trim the moulding with a miter saw to match the exact length you need.
- Pre-drill the moulding at each wall stud’s location, then nail them into place. You may need a friend to lend a hand and hold long pieces as you drill and nail. Pro tip: rent a nail gun to fly through this step!
- Repeat steps 1-3 for each piece of moulding.
- Touch up moulding edges with leftover paint or finish.
- Cover up nail holes with wood putty.
- Close any gaps between the wall and floor or ceiling with caulk.
- Sit back, appreciate your hard work, and enjoy the look of your newly decorated room!
Tip: You can also use some adhesives to install most moulding. If you want to skip the hammering and drilling, ask your manufacturer for their recommended adhesive.
Find Quality Moulding at Zeeland Lumber & Supply
Planning to add some character to your home with crown moulding or trim? Zeeland Lumber & Supply has got what you need. With millwork from top manufacturers in nearly any profile you can imagine, we’re happy to help you find exactly what you’re looking for. Give us a call or contact us online today.

