
Summer nights mean spending lots of time outside, whether it’s eating dinner with family or hosting cocktail parties with friends. However, one thing that can put a damper on those fun nights is bugs, which is why many homeowners choose to build a screened-in porch.
A screened-in porch helps make outdoor relaxation and entertaining possible, no matter the weather or the bug situation. It can also add some serious value to your home.
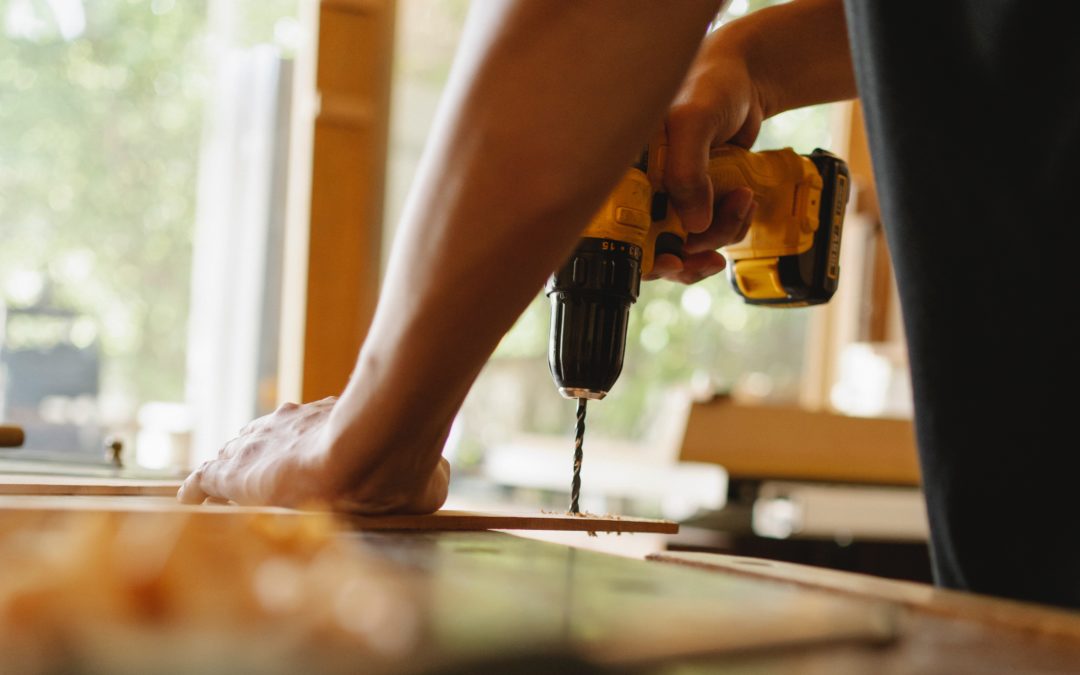
Although you can definitely hire a contractor to build your screened-in porch, you could also make it a fun DIY project to add some charm to your home and a sense of accomplishment to your life. It may seem like a big task, but it’s not as difficult as you’d think.
If you’re looking for a bug-free summer and to add some value to your home, try building your own screened-in porch by following the five steps below.
7 Steps to Building a Screened-In Porch
Before starting any project, it’s first important to make sure you have the knowledge, tools, and safety equipment to make it a success. After you’ve done your reading and gathered your materials, it’s time to start building! Let’s dive in:
1. Lay the Foundation
For starters, you’re going to need a strong, sturdy foundation for your porch. We’ve found the best material for a good foundation is a concrete slab due to its flat nature and ability to withstand the elements. If you’re already starting with a concrete slab, you can skip to Step 2. If not, here’s what you need to make a concrete slab for your screened-in porch.
First, compact the ground surface and level it with a line or water level. Place stakes in the ground to outline the shape and size — first at the four corners, and then in 2-foot increments around the border. Form the borders of the frame with 2×4’s and nail them into the stakes to create the full outline of where you’d like to pour the concrete.
Next, start pouring the concrete and spreading it around inside the borders you built, starting in the corners and working inwards. Use a shovel or rake to remove air pockets as you work. As a final step, you’ll need to pull a screed (long, straight 2×4) across to make sure the concrete is flat and level. Let the concrete dry and cure for at least 24 hours, then you’re all set to start building!
2. Cut Away the Overhang and Siding on House
If you have siding and a roof overhang on your house, you’ll need to cut those away in order to make room for the roof associated with your screened-in porch. The first part of this process is deciding and outlining exactly where you would like to attach the porch.
Next, you can cut away at the siding and overhang, setting the saw blade just deep enough to cut through. The goal is to cut through enough so that the innermost patio roof truss can fit against the wall, but not too much where you’ll have exposed siding. After you’re finished, you can remove the siding and waterproof the slot with building paper.
3. Frame the Walls
Now, it’s time to start framing the walls. Since wall framing often makes up the finished interior surface of screened porches, it’s important to take extra time and pay attention to making the material look perfect. We recommend choosing quality 2×6 wood planks and taking extra care to ensure they’re installed straight and level.
Cut the studs and cross pieces to the length of your walls and screw each of them together. You can use a cross piece as a spacer when you’re attaching the studs to the top and bottom wall plates. Repeat this process until you’ve framed each of your walls.
4. Plumb and Brace the Walls
Once your walls are framed, you need to plumb and brace them. First, stand the walls and ensure they are vertically straight, then screw the wall corners together. Then screw the walls downwards into the base plates.
With each new wall, you should always double-check that it is perfectly aligned and securely braced, preferably with a long level. You can also use a plank and place it diagonally across the walls to temporarily hold them into position.
5. Install the Roof Trusses
For the roof of your screened-in porch, you have two options: frame and build roof trusses yourself or purchase manufactured trusses. We recommend buying manufactured trusses, because they can be engineered to meet the exact size and fit of your project, and they can save you a lot of time and energy.
Once you’ve built or bought your trusses, screw the first one to the coinciding top wall plate. Then, use a straight edge and level to make sure the truss is standing perfectly plumb and brace it to the roof. Make sure this brace is screwed securely because all of the other trusses will depend on it for support.
You can then install all the remaining trusses, aligning and screwing them in horizontally with the first truss and vertically with the top wall plates.
After that, install the roof boards and nail them into the trusses — again, ensuring they are straight and even. Once the boards are placed, you can choose which material you’d like to have on your roof. From various types of shingles and metal roofing, you can be sure to choose a material that matches the aesthetic of the rest of your home.
6. Insert the Screening
Screening can come in various materials, so you can take your pick from anything like rust-proof bronze or vinyl. And although inserting the screening may seem like the easiest step of all, it’s important that you take special care to ensure it is installed without sags or wrinkles.
First, unroll the screen and place it over the opening, overlapping it by 1-3 inches. Cut the wire, then tack the two corners to hold it in place. Next, stretch the screen so there are no wrinkles and staple the four corners. Place 1/4 inch staples every 3 inches around the border of the screen.
Once all the screens are fastened, nail 2×2 trim pieces over the screen edges and cut off any excess screening to ensure the porch exterior looks clean.
7. Attach a Door
The last step to building the screened-in porch of your dreams is to install an exterior door. Purchase whichever exterior door suits your style, but make sure it is able to withstand the elements. Then, hang it with galvanized or brass door hinges. Finally, mount a latch and door closer to ensure your screened-in porch is fully enclosed.
And just like that, you’ve learned how to build a screened-in porch on a concrete slab!
The relaxing, bug-free summer evenings are awaiting you — get started on your dream outdoor space today! Zeeland Lumber & Supply has materials you need to finish your screened-in porch in style. Contact us online or give us a call today at (888) 772-2119 for more information.
